A storm cell shifts direction at 2:13 p.m. By 2:30, residents are reporting flooded intersections, a care facility needs transport support, and volunteers are asking where to stage. A disaster operations checklist gives the incident team a shared order of work when reports, requests, and decisions begin arriving faster than a spreadsheet can handle.
The goal is not to turn a dynamic incident into a rigid script. Every disaster has different hazards, authorities, available resources, and community needs. The checklist creates a dependable operating rhythm: verify what is happening, protect people, assign work, communicate clearly, and preserve a record of decisions.
Build the Disaster Operations Checklist Before the Incident
The strongest operational checklists are built during blue-sky periods, then used and refined during gray-sky conditions. Teams should establish ownership before an event, not while the operations center is already managing a surge of calls.
Confirm roles, authority, and activation triggers
Start with a current roster of incident leadership, operations, planning, logistics, public information, volunteer coordination, dispatch, and field supervisors. Record primary and backup contacts, availability, required certifications, and the authority each role holds. A person may be qualified to lead a debris mission but not authorized to enter a restricted area or request mutual aid.
Define what causes activation. That may be a National Weather Service warning, local evacuation order, utility outage threshold, wildfire smoke conditions, or a defined number of verified help requests. Triggers should also state who can activate the organization and how the team will be notified.
Validate people, resources, and operational records
An outdated volunteer list creates risk at the moment it is supposed to create capacity. Review training records, certifications, background checks, emergency contacts, equipment assignments, vehicle status, and responder availability on a regular schedule.
The same applies to resources. Maintain a current view of shelters, staging areas, fuel sources, accessible transportation, animal support partners, generators, communications equipment, and vendors. Include the practical details that slow missions down: access instructions, keys, gate codes, operating hours, capacity limits, and the person responsible for each resource.
Keep sensitive information in systems with role-based access. Medical details, client records, volunteer credentials, and incident notes should not be distributed through personal text threads or uncontrolled spreadsheets.
Prepare public reporting and communication channels
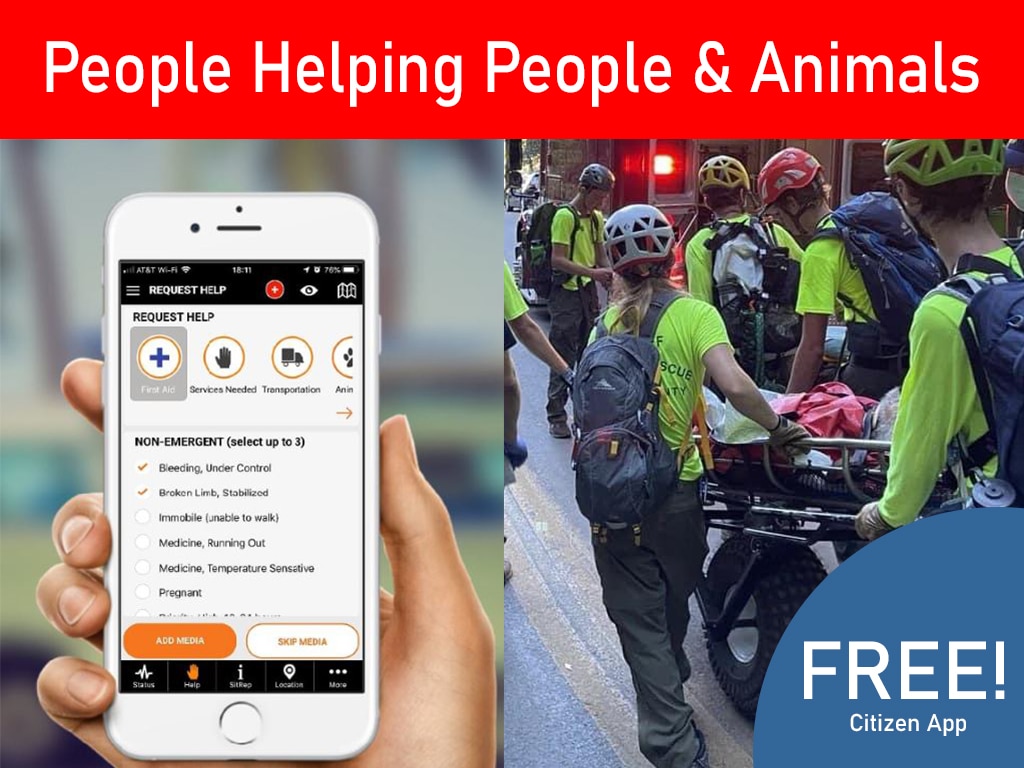
Residents often see damage and urgent needs before official teams can reach the area. Give the public a trusted, simple way to report hazards, blocked roads, welfare concerns, damaged property, animal needs, and requests for assistance. Make clear that life-threatening emergencies still require 911.
Prepare message templates for severe weather, shelter openings, road closures, volunteer activation, donation guidance, and rumor control. Templates speed approval, but they must be updated with verified local details. Sending a fast message with the wrong shelter address can create a second problem.
Disaster Operations Checklist for the First Operational Period
The first operational period is about establishing control without pretending to have perfect information. Early reports will be incomplete, duplicated, emotional, and sometimes inaccurate. The checklist should move the team from incoming noise to a verified, prioritized operating picture.
1. Activate the right level of response
Document the activation time, incident name, operating period, lead authority, and initial objectives. Determine whether the event requires monitoring, partial activation, full activation, or mutual-aid coordination. Avoid activating more people than the incident can safely manage, but do not wait for complete certainty when credible life-safety threats are developing.
Notify team members through approved channels and require acknowledgement where possible. A message sent is not the same as a message received. Track who is available, who is en route, and who is unavailable so command is not assigning missions to people who cannot respond.
2. Establish a verified common operating picture
Collect reports from dispatch, field personnel, partner agencies, weather sources, utility providers, emergency calls, and residents. Log each report with time, location, source, category, severity, and verification status. Mapping these reports helps identify clusters that individual phone calls can hide, such as multiple welfare checks in the same neighborhood or road closures isolating a community.
Separate confirmed conditions from unverified reports. Both matter, but they should not be treated the same way. An unverified report of a collapsed bridge may justify a request for assessment; it should not automatically become a published closure.
3. Prioritize life safety and access
Rank incoming needs using clear criteria: immediate threat to life, medical or functional needs, exposure to hazards, number of people affected, inability to self-evacuate, and whether access routes are blocked. Assign each priority a next action, owner, and expected update time.
Requests may compete for the same limited resources. A generator delivery, a sandbag mission, and a welfare check are all valid needs, but their urgency differs. Good prioritization records the reason for the decision so the team can explain it later and reassess it when conditions change.
4. Turn requests into accountable missions
Every work order should answer five operational questions: What is needed? Where is it needed? Who owns the mission? What safety conditions apply? How will completion be verified?
Include the mission type, location, requester details, assigned personnel, equipment, check-in requirements, status, and outcome. Dispatchers and field supervisors need the same mission record, not separate versions moving through texts, radio traffic, and email.
Before deployment, confirm qualifications, personal protective equipment, communications capability, travel conditions, and accountability procedures. If conditions exceed volunteer training or organizational authority, transfer the request to the appropriate agency and document that handoff.
5. Protect responders, volunteers, and residents
Operational urgency does not eliminate safety requirements. Conduct a quick safety briefing before each mission, including known hazards, weather conditions, check-in intervals, escape routes, and stop-work authority. Field teams should know who to contact if the mission changes or they encounter conditions outside their assignment.
Volunteer management requires additional discipline. Verify credentials and training, assign work within capabilities, capture hours, and avoid sending spontaneous volunteers into hazardous areas without supervision. People want to help, especially when their neighbors are affected. Organized volunteer work protects that willingness and turns it into useful capacity.
Maintain the Operational Rhythm Throughout the Incident
Once response is underway, the checklist becomes a cycle rather than a one-time document. Set a reporting cadence that fits the incident. A rapidly changing tornado response may require frequent briefings, while a prolonged recovery operation may use daily operational periods.
At each briefing, review the incident objectives, changes in hazards, open high-priority requests, resource status, field-team accountability, public messages, and decisions that require command approval. Update the map and task board before the briefing whenever possible. People make better decisions when they are looking at the same current information.
Track mission status with meaningful categories such as received, verified, assigned, en route, on scene, completed, unable to complete, and transferred. “Closed” alone is not enough. A request can close because assistance was delivered, because the location could not be reached, because it was a duplicate, or because another agency accepted responsibility. Those differences shape the next decision.
Communication should be consistent across responders and the community. If a road is closed, field teams, dispatch, partner agencies, and residents need the same verified message. If a shelter is at capacity, update public guidance quickly and provide the next available option when possible. Community trust is built through useful information, including information that acknowledges limits.
Shift From Response to Recovery Without Losing the Record
Recovery begins before the last response mission is closed. As immediate life-safety work stabilizes, track unmet needs, damage observations, volunteer hours, resource use, referrals, donations, and recovery casework. Maintain a clear boundary between verified disaster information and assumptions that still need assessment.
Close each mission with an outcome, not just a timestamp. Record what was provided, who completed the work, any follow-up required, and whether the resident received instructions for continued support. This documentation supports accountability, reimbursement, after-action review, and continuity when shifts change.
A platform such as PubSafe can bring citizen reports, live mapping, volunteer records, work orders, dispatch activity, alerts, and operational notes into one controlled workspace. The value is not simply having more data. It is allowing the right people to act on the right information without losing the human request behind it.
After demobilization, schedule an honest after-action review. Ask where reports stalled, which decisions lacked information, where teams duplicated work, and what residents found confusing. Then update the checklist, contact records, templates, and training plan while the incident is still fresh. The next emergency will not follow the last one exactly, but each improvement gives your community a stronger starting point when people need help most.